One of the earliest applications of electricity was the creation of the electric motor. The first DC electric motor appeared in 1832, invented by William Sturgeon. Hippolyte Pixii is cited with creating the first AC motor around the same time. While nearly 200 years have passed, the overall design for a motor hasn’t changed. Amazingly, neither has the production method.

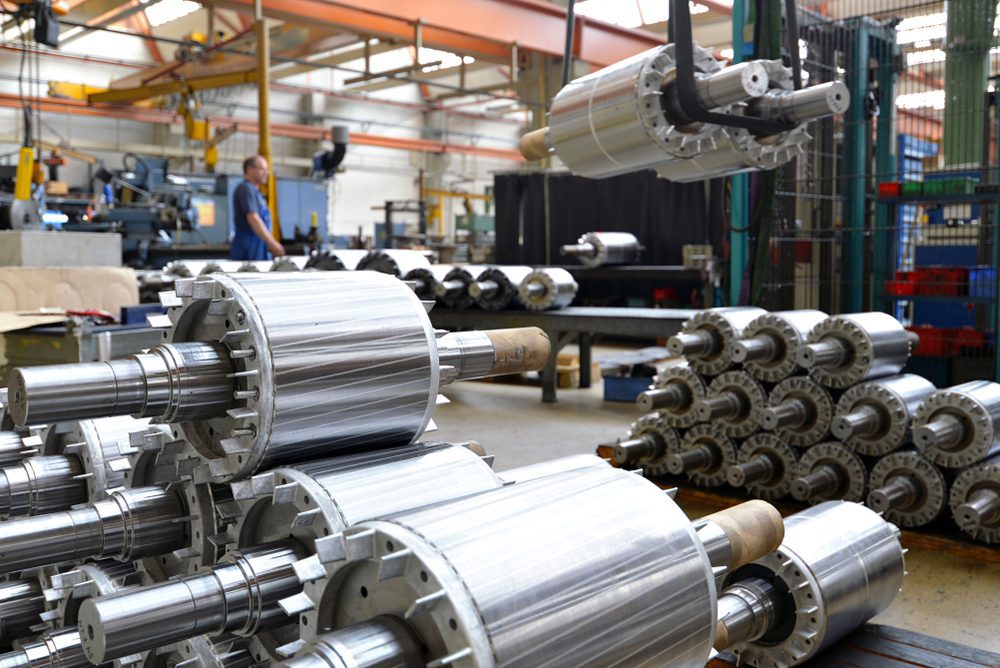
A motor has two main components: the stator and the rotor. The stator is either a magnet or wound-up insulated wire. The rotor has the same kind of magnets or wires and is attracted and repelled by the stator. As electricity is pumped through the stator, the rotor churns, creating mechanical power. This power can be used for anything from cars to sewing machines.
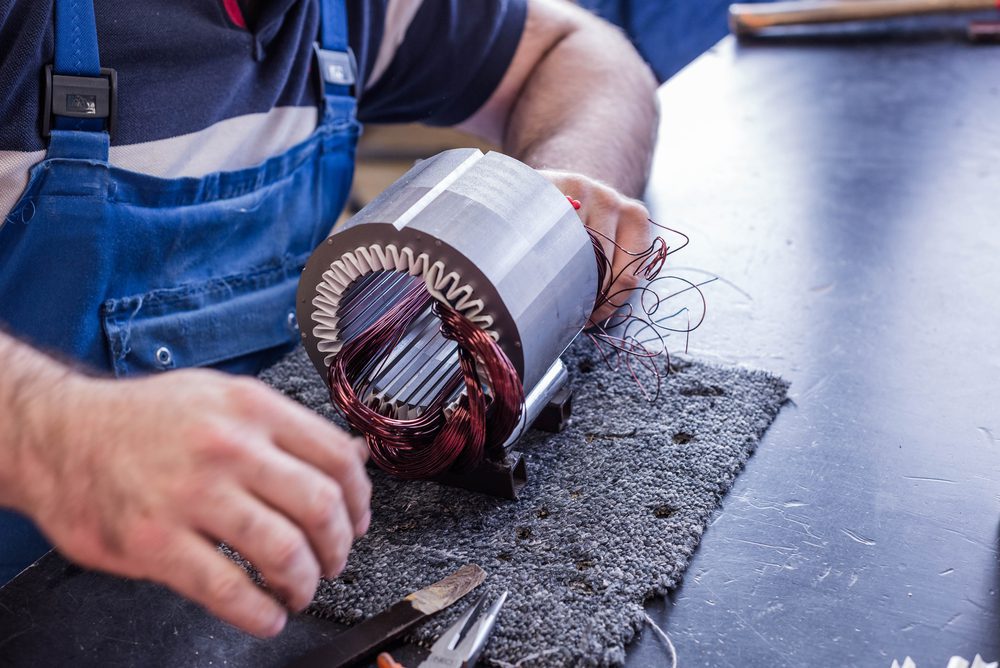
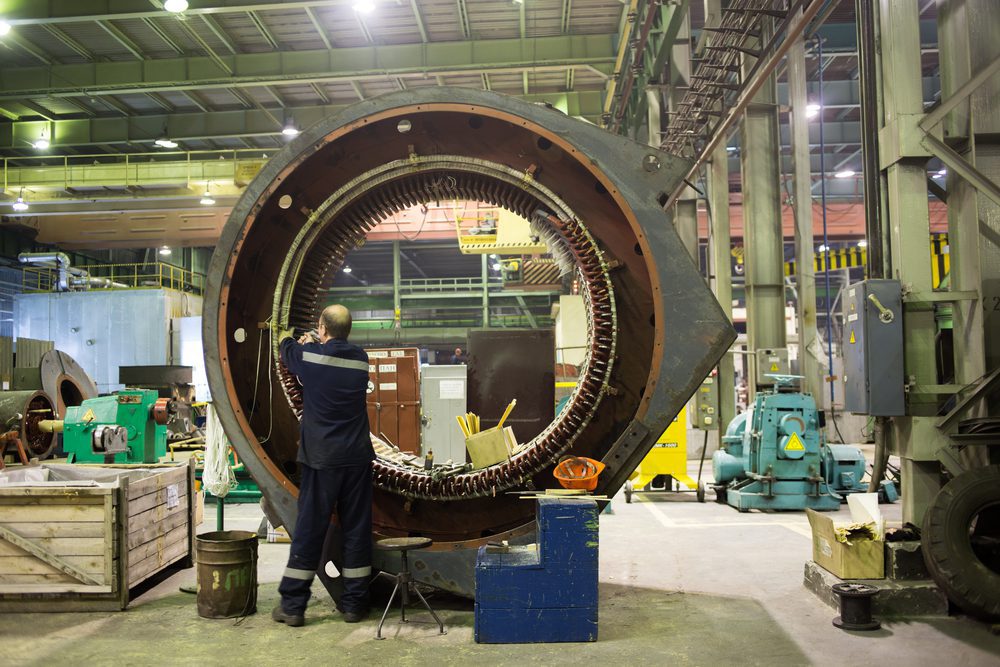
The stator is slotted around its circumference, and these slots are lined with a copper coil or magnet. For more powerful motors, a larger stator with bigger slots is needed. The slots must be insulated to keep voltage confined to the coils and prevent damage to the machine. If the motor uses copper coils, wires are wound together by a machine. It used to be by hand, but as computers became more prominent, the task became programmable. Again, for larger motors, more wires are needed per coil.
After being wound, the wires are tied up to prevent unraveling. The coils are inserted into the slots and capped with additional insulation. Fiberglass is a popular choice for this step. Insulation is especially important for the coil left outside of the motor. Magnet-powered motors are mostly confined to the stator, making the above steps unnecessary. The magnets or coils are locked into place to keep them from moving during usage.

Next comes ensuring a connection. The ends of the coils are insulated and grouped into power cables. The number of wires will vary on the motor, with speed and voltage being taken into consideration. These grouped cables are soldered together, insulated, and placed into position. Some remain inside the stator, while others are accessible from the outside. The coils are furthered bound together; it is imperative that they are stationary because any movement could make the motor malfunction. The completed stator coil is made moisture resistant after a quick bath in varnish. The varnish is vacuumed and baked, causing the stator coil to go rigid.
Balancing the rotor is done the same way a mechanic balances a tire. If the rotor is even a bit off-balance, it’ll vibrate and hamper performance. After ensuring the rotor is balanced, it is carefully inserted into the stator. Steel bearings are there to help the rotor turn. The fan is installed over the back cover of the entire motor. Without the fan, the motor could overheat and break down, especially after prolonged use. A safety guard and cover on the front of the motor are added, and all that’s left is to run the motor through testing. Once the tests are passed, the motor is complete and ready to be used.

While a few innovations in electric motor design exist- a three-phase induction motor was introduced in 1890 and is still widely used today- the overall production process remains virtually unchanged. Computers may be used to make some tasks easier or done more precisely, but the automated steps are the same humans made at the electric motor’s inception. Is it possible that any more advancements will be made? It’s possible but unlikely. The method is already more-or-less perfect as it is, so why fix what isn’t broken?
Unless the electric motor itself is broken. You should probably fix it then.
Follow our World of Production, where big ideas bring big growth.


